Answering a NUPCO tender on iNUPCO is not one form. A bid is made of many offers, one for each item you quote, and every offer goes through three stages: a technical offer, a commercial offer and an approval. Only then can you submit the bid itself.
This guide walks through those stages in the order you meet them. It is written from a real bid worked through in the portal, with the names and numbers left out. Screens and wording change, so treat it as a map and check each step against what you see.
How a bid is put together
A tender on iNUPCO lists generic items, each with a NUPCO code and a requested quantity. For every item you want to supply, you submit one offer, and an offer has two halves. The technical offer says which product you are offering: its registration, packing, shelf life and lead times. The commercial offer says what it costs: the unit price, the VAT, the quantity and whether any of it is free of charge.
A manager then approves the offers, and last of all the bid itself is submitted. If your account holds more than one role, the View As menu above the tender's tabs switches between the technical, commercial and manager views. What you can do depends on the view you are in, so check it before you look for a button that seems to be missing.
Before you start
For every item, have these ready: the NUPCO code, the product you will offer and its catalogue number, the manufacturer, the manufacturer's authorization letter, the catalogue PDF, the pack size, the shelf life and your price. A product NUPCO has not registered yet has to be registered first, and its manufacturer has to be on NUPCO's list. If the manufacturer is not there, that item is blocked until NUPCO publishes it, so find out early.
Decide which items you are bidding on before you open the portal, and keep that list. At the end it is what you compare the portal against.
Step 1: Open the item and choose the product
Open the tender, go to Generic Items, search for the NUPCO code and choose Submit main offer. The link sometimes needs a second click, because the first only scrolls the row into view. The offer page then asks you to pick a product. The picker lists the products you have already registered for that code, so look there before you create anything: registering a product that already exists only gives you duplicates to choose between.
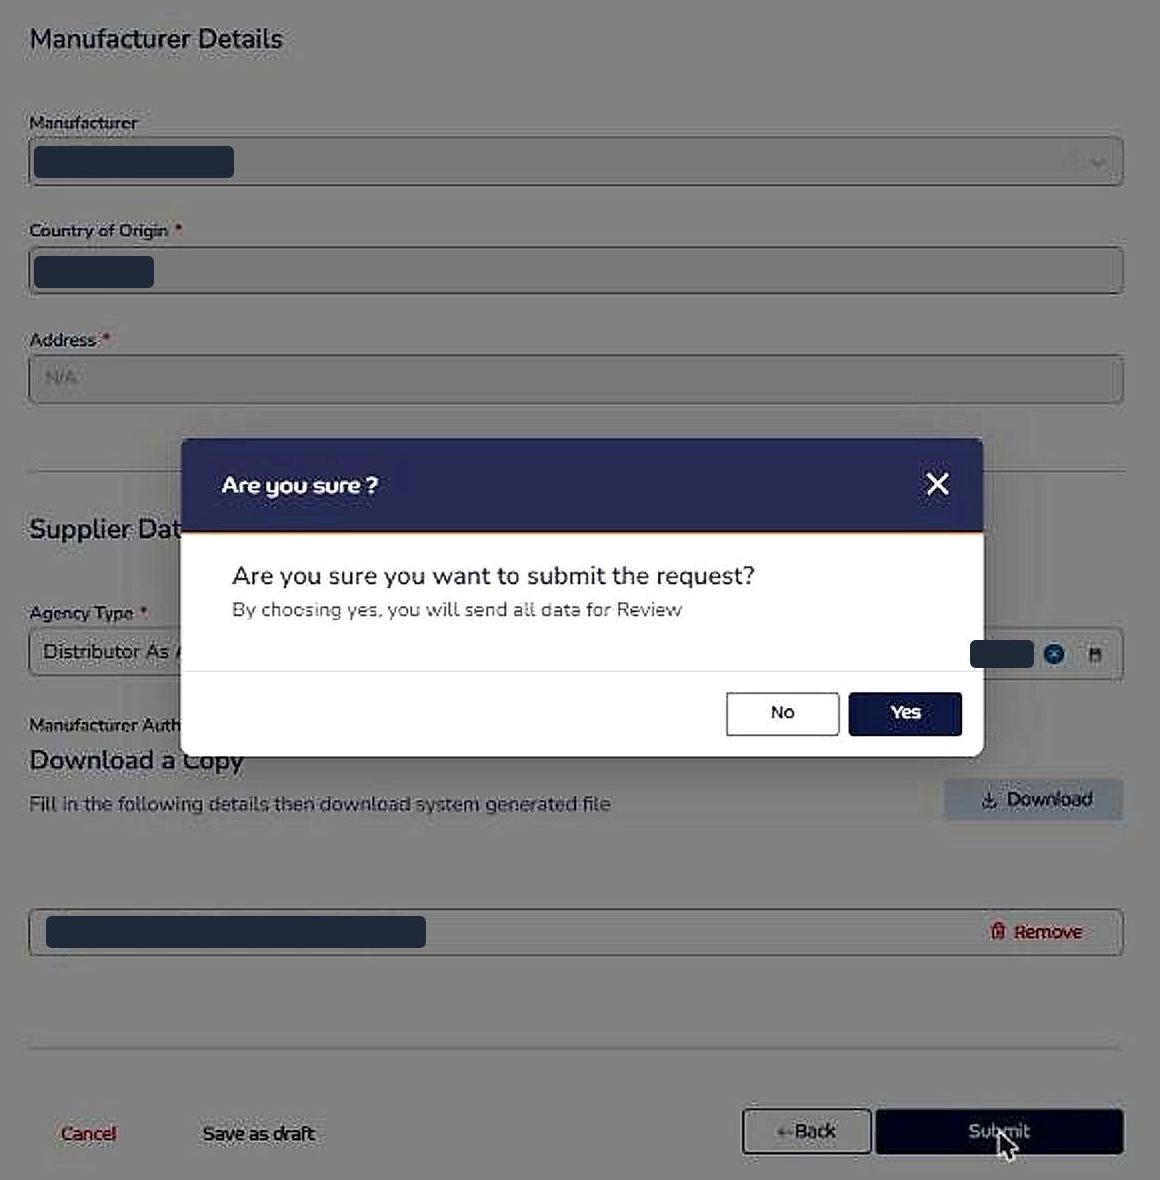
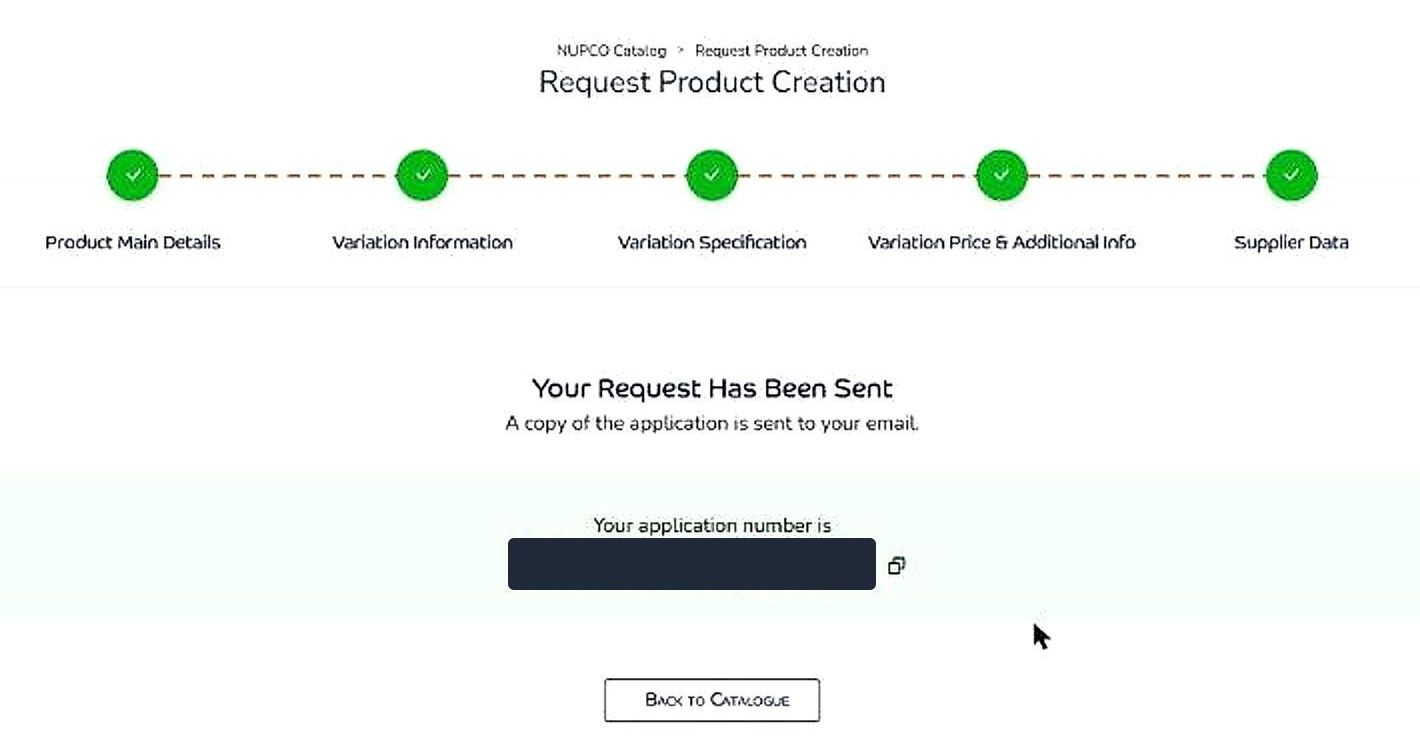
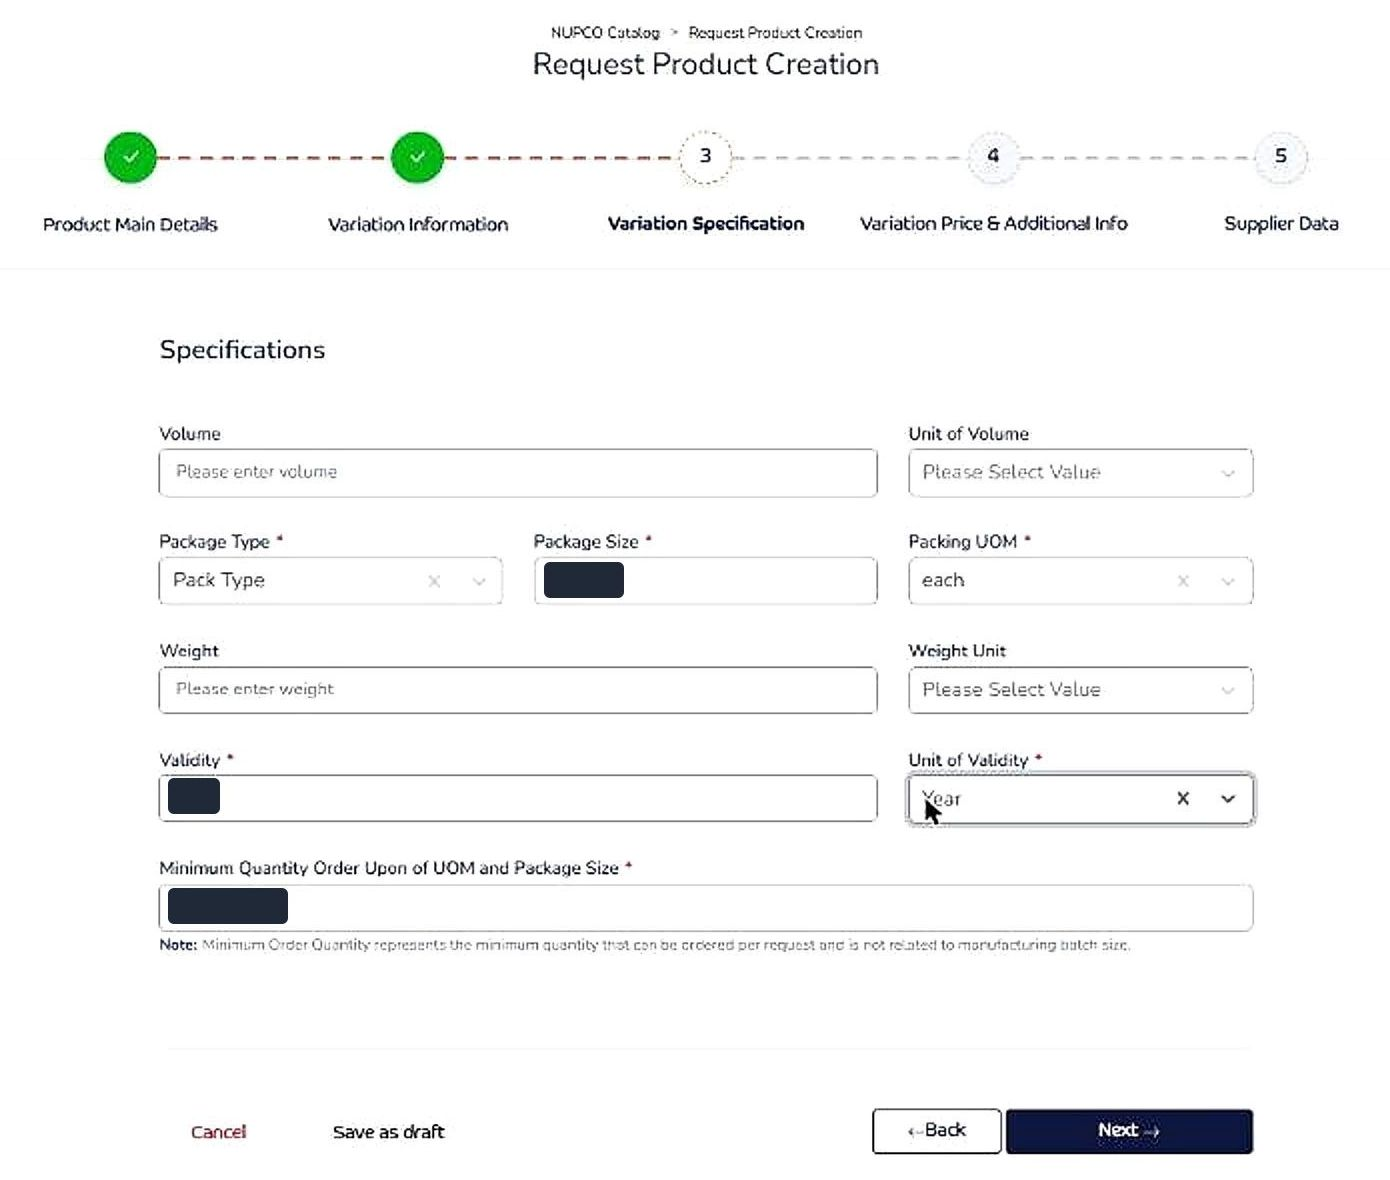
If the picker is empty, register the product first. In the catalogue, choose Request Product Creation and work through its five steps: Product Main Details, Variation Information, Variation Specification, Variation Price & Additional Info and Supplier Data. The last step asks for a final confirmation, and then a green panel shows the request's number, so write it down. Do not save drafts between steps, because each save creates a separate request that you cannot delete, and do not submit twice, because a pending request cannot be cancelled.
What the product request checks
A few rules catch people out. Both product names, the English one and the Arabic one, are limited to 40 characters, and the limit is only checked when you submit, so shorten them before you start. The Arabic name may contain Arabic letters only. A size such as 29x35 or a symbol is rejected, so keep sizes for the English name and the description. The catalogue PDF and a supporting document are required, and a product made in Saudi Arabia triggers extra questions about local content, with a document to prove it. The yes and no questions start unset, so answer each one yourself. Choose the manufacturer from the list the portal gives you.
Step 2: Submit the technical offer
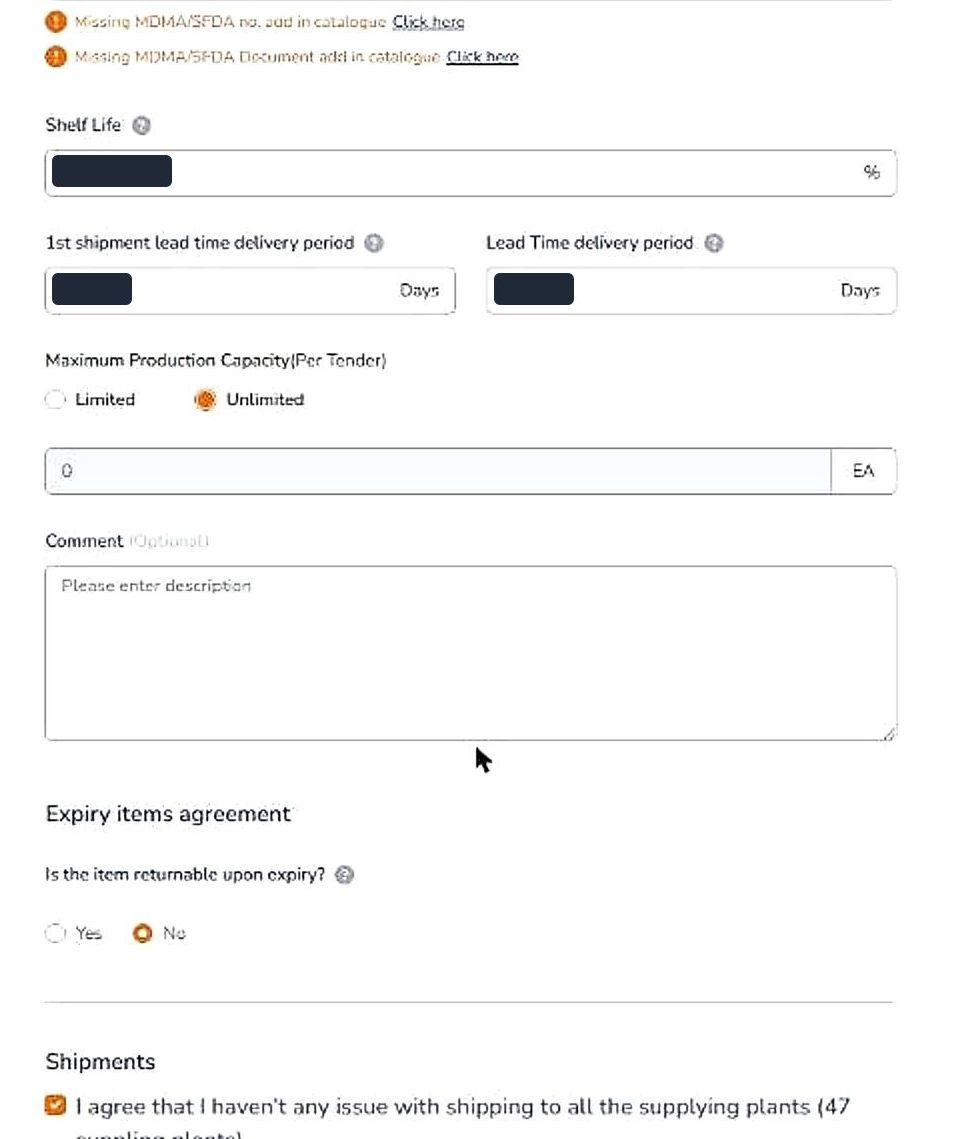
With the product chosen, the offer page fills in the item validity, the pack size and the country from the registration. You complete the rest: the shelf life percentage, the lead time for the first shipment, the lead time for later orders, and the answers about production capacity, shipping and returns on expiry. Set each yes or no yourself instead of trusting what the form starts with.
The portal warns when MDMA or SFDA details are missing. The warning does not stop you, but it is a common reason for rejection, so fix it if you can. The form submits with one click and no confirmation. Afterwards, search the item's code again: the number of submitted offers should have gone up by one.
Step 3: Submit the commercial offer
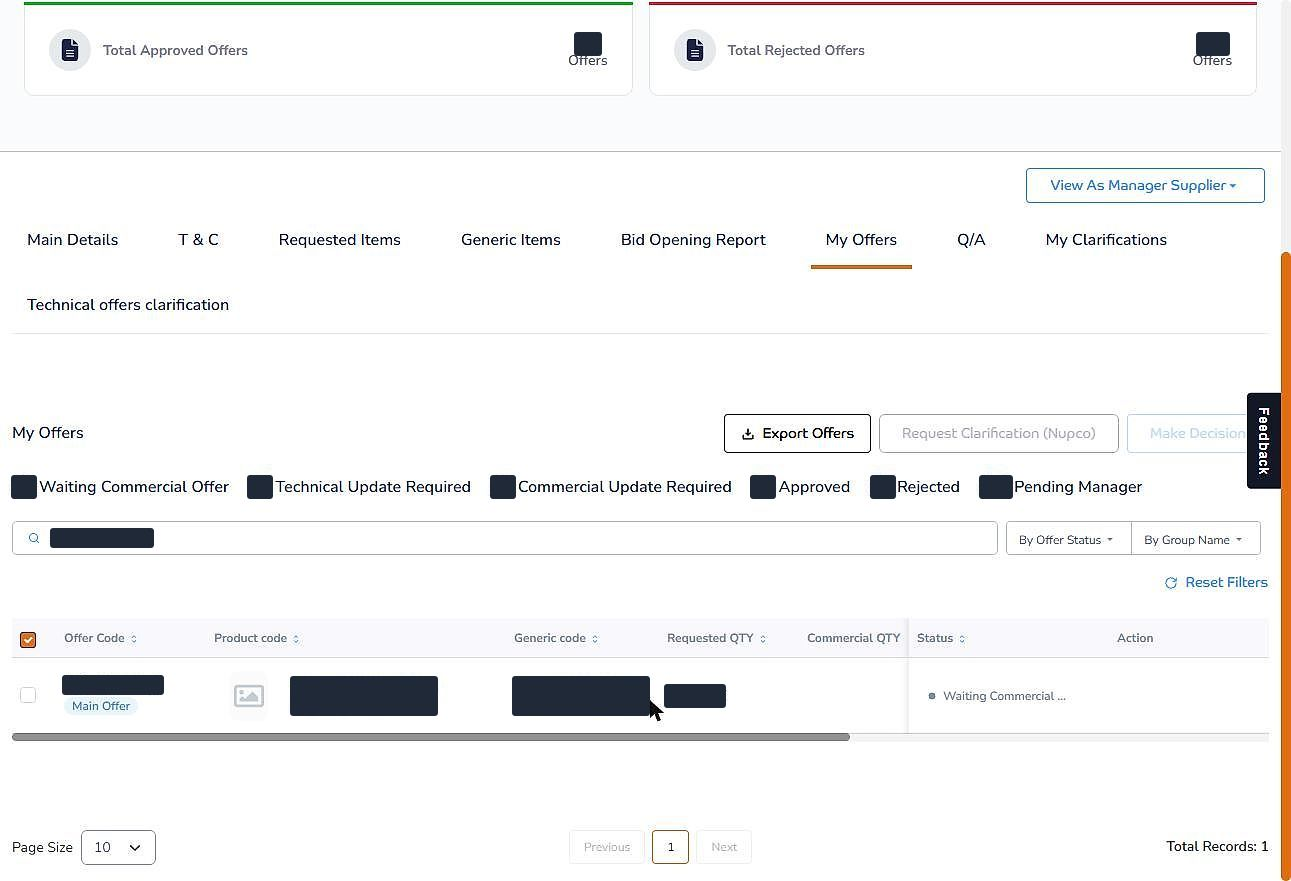
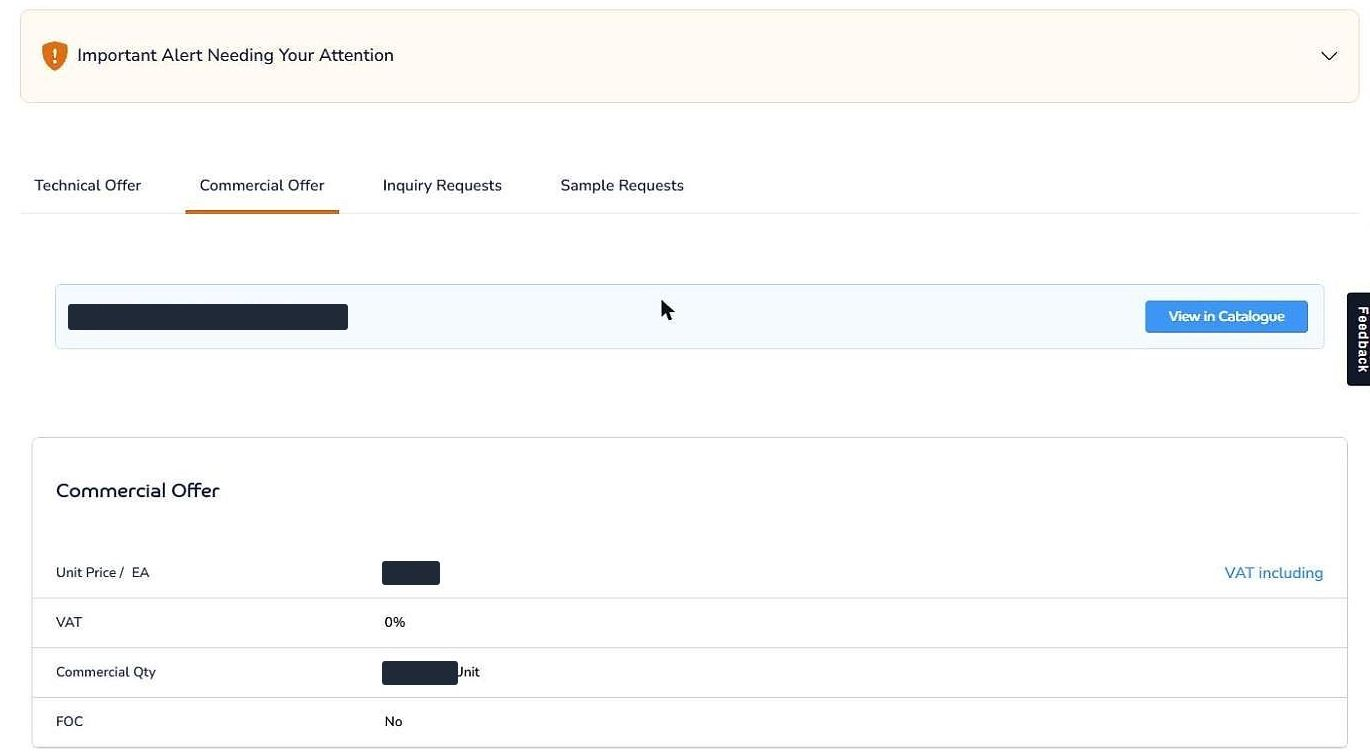
Open the My Offers tab and switch to the commercial view. Items with a technical offer and no price show the status Waiting Commercial Offer. Open one and choose Submit Offer. You enter the unit price, the VAT, the quantity you are offering and whether it is free of charge, then submit.
Two checks save a lot of trouble. The first is the VAT. Most products carry 15% and qualifying medicines are zero-rated, and a click on the wrong option is easy to miss, so read the offer page again after you submit. The second is the quantity: the item shows the quantity NUPCO asked for, so decide deliberately whether you offer all of it. The offer then moves to Pending Manager, and the commercial offers counter at the top of the tender goes up by one.
Step 4: Approve the offers
Offers wait for approval in the manager view. Switch to it with View As, open My Offers and filter by Pending Manager. Tick the offers you want, or the box in the table header to take them all, and choose Make Decision. The dialog lists the selected offers and gives four choices: Approve, Reject, Request Technical Edits and Request Commercial Edits. Choose Approve, check the count at the top of the dialog and press Confirm. A green message says the offers were approved, and the approved counter at the top of the tender goes up.
An offer that is already approved is left out of a new selection automatically. To send an offer back for changes instead of approving it, choose Request Technical Edits or Request Commercial Edits.
Traps in the portal's screens
The view goes back to technical whenever the page reloads, which includes opening a tender by its address. Move around with the Tender Details link inside the portal and the view stays where you put it. A filter chip can stay switched on and hide every row, and Reset Filters does not always clear it: remove the chip with the cross on the chip itself. In a wide table the action link can sit off-screen to the right, so scroll the table sideways, or tick the row and use the Make Decision button above the table.
Step 5: Submit the bid
When every item you meant to bid on has an approved technical and commercial offer, the last step is Submit Bid, at the top right of the tender page. It sends the whole bid, so it deserves a final look at your list: the items you decided to bid on, the ones that have offers and the ones that do not, with the reason for each. Leave yourself time before the deadline, because a problem found in the last minutes cannot be fixed.
Press it once, and keep the confirmation.
Where ProcDuck and Claude help
Every form above asks for facts you already keep in ProcDuck: products, manufacturers, authorization letters, pack sizes and prices. ProcDuck also prepares the quotation and its cover page, so the supporting documents come from one place. If you would rather not do the typing, Claude can fill these forms in your own browser while you watch, and it stops for your go-ahead before it submits. The other guide on this blog, How to Let Claude Fill In and Submit Your iNUPCO Offers, explains how that works.
A tender with dozens of items means dozens of rounds of these steps. If you would rather spend that time on the bid itself, we set up ProcDuck and Claude with your team and train them on your own tenders.
Book a demo